
Painting a room can seem daunting, especially for beginners. However, with the right tools, techniques, and preparation, you can achieve a professional finish. This guide will walk you through each step of the process, from preparation to cleanup, ensuring you have all the information you need to know how to paint a room successfully.
How to Paint a Room: Preparation
Proper preparation is crucial for a successful painting project. Here’s how to get started on how to paint a room:
1. Clear the Room
Remove as much furniture as possible from the room. For larger items that can’t be moved, place them in the center of the room and cover them with plastic sheeting. Take down any pictures, curtains, and light fixtures.
2. Clean the Surfaces
Clean the walls, ceiling, and trim to remove dust, dirt, and grease. A mild detergent solution works well for this task. Allow the surfaces to dry completely before proceeding.
3. Repair Any Damage
Inspect the walls and ceiling for cracks, holes, or dents. Use spackle or joint compound to fill any imperfections. Once dry, sand the repaired areas until smooth.
4. Tape and Protect
Use painter’s tape to mask off areas you don’t want to paint, such as trim, windows, and doors. Cover the floor with drop cloths to protect against spills and splatters.
How to Paint a Room: Choosing the Right Paint
Selecting the right paint is essential for achieving a durable and attractive finish. Consider the following factors on how to paint a room:
1. Paint Type
- Latex Paint: Water-based and easy to clean up with soap and water. Ideal for most interior walls and ceilings.
- Oil-Based Paint: Provides a smooth, durable finish but requires mineral spirits for cleanup. Best for trim and high-traffic areas.
2. Sheen
- Flat/Matte: Non-reflective finish, great for hiding imperfections. Suitable for ceilings and low-traffic areas.
- Eggshell: Slightly reflective, easy to clean, and good for living rooms and bedrooms.
- Satin: Offers a soft sheen and is more durable. Ideal for kitchens and bathrooms.
- Semi-Gloss/Gloss: Highly reflective and very durable. Perfect for trim, doors, and high-moisture areas.
3. Color
Choose a color that complements your room’s décor. Test a few samples on the wall to see how they look at different times of the day under various lighting conditions.
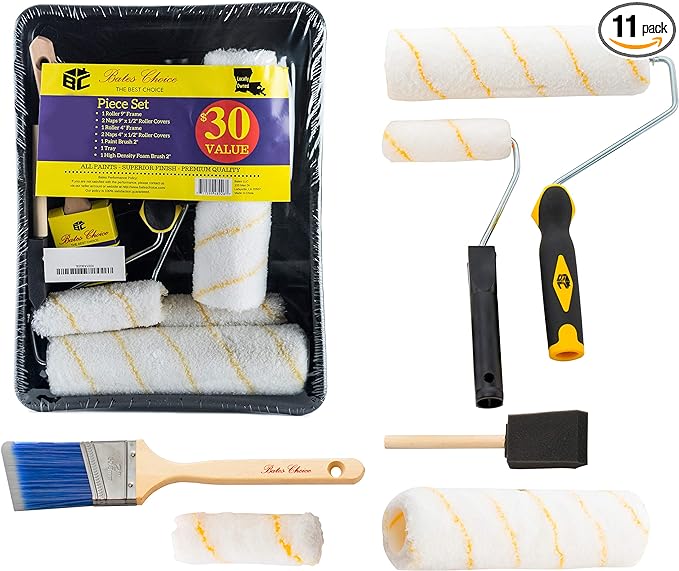
How to Paint a Room: Tools Needed
Having the right tools makes the job easier and more efficient. Here’s what you’ll need:
- Paint brushes (angled for trim and straight for larger areas)
- Roller frames and covers
- Paint tray and liners
- Painter’s tape
- Drop cloths or plastic sheeting
- Spackle and putty knife
- Sandpaper (medium and fine grit)
- Ladder or step stool
- Stir sticks
- Paint can opener
- Clean, damp cloths for wiping spills
Techniques for How to Paint a Room
Now that you’re prepared and have the right tools, it’s time to start painting. Follow these steps for the best results:
1. Cutting In
Begin by “cutting in” around the edges of the walls, ceiling, and trim with a brush. This means painting the areas that a roller can’t reach. Use an angled brush for clean lines.
2. Rolling the Walls
Pour the paint into a tray and load your roller. Apply the paint in a “W” pattern to distribute it evenly, then fill in the gaps with horizontal strokes. Work in small sections to keep a wet edge and avoid lap marks.
3. Painting the Ceiling
Use a roller with an extension pole to reach the ceiling. Start in one corner and work your way across the room in sections. Apply the paint in a “W” pattern, similar to the walls.
4. Painting Trim
Once the walls and ceiling are dry, use painter’s tape to protect them while you paint the trim. An angled brush is ideal for this task. Apply smooth, even strokes for a clean finish.
How to Paint a Room: Cleanup
Proper cleanup is essential to maintain your tools and ensure your space is neat and tidy:
- Remove Painter’s Tape: Pull the tape off at a 45-degree angle while the paint is still slightly wet to avoid peeling.
- Clean Brushes and Rollers: For latex paint, wash with soap and water. For oil-based paint, use mineral spirits.
- Store Extra Paint: Seal the paint cans tightly and store them in a cool, dry place for future touch-ups.
- Dispose of Materials Properly: Follow local regulations for disposing of paint and materials.
Frequently Asked Questions About How to Paint a Room
How many coats of paint do I need?
Typically, two coats of paint are sufficient for even coverage and a professional finish. However, darker colors or significant color changes may require an additional coat.
How long should I wait between coats?
Allow at least 2-4 hours for the first coat to dry before applying a second coat. Check the paint can for specific drying times as they can vary by brand and type.
Can I paint over old paint without primer?
If the existing paint is in good condition and you’re not making a drastic color change, you may be able to skip the primer. However, using a primer is recommended for the best adhesion and color consistency.
How do I prevent roller marks?
Use a high-quality roller cover, apply the paint evenly, and work in small sections to maintain a wet edge. Avoid pressing too hard on the roller.
What should I do if I spill paint?
Quickly wipe up spills with a damp cloth. For dried paint, use a paint remover or scraper, being careful not to damage the surface.
By following these steps and tips, you can confidently tackle your painting project and achieve a professional-looking result. Now you know how to paint a room like a pro. Happy painting!