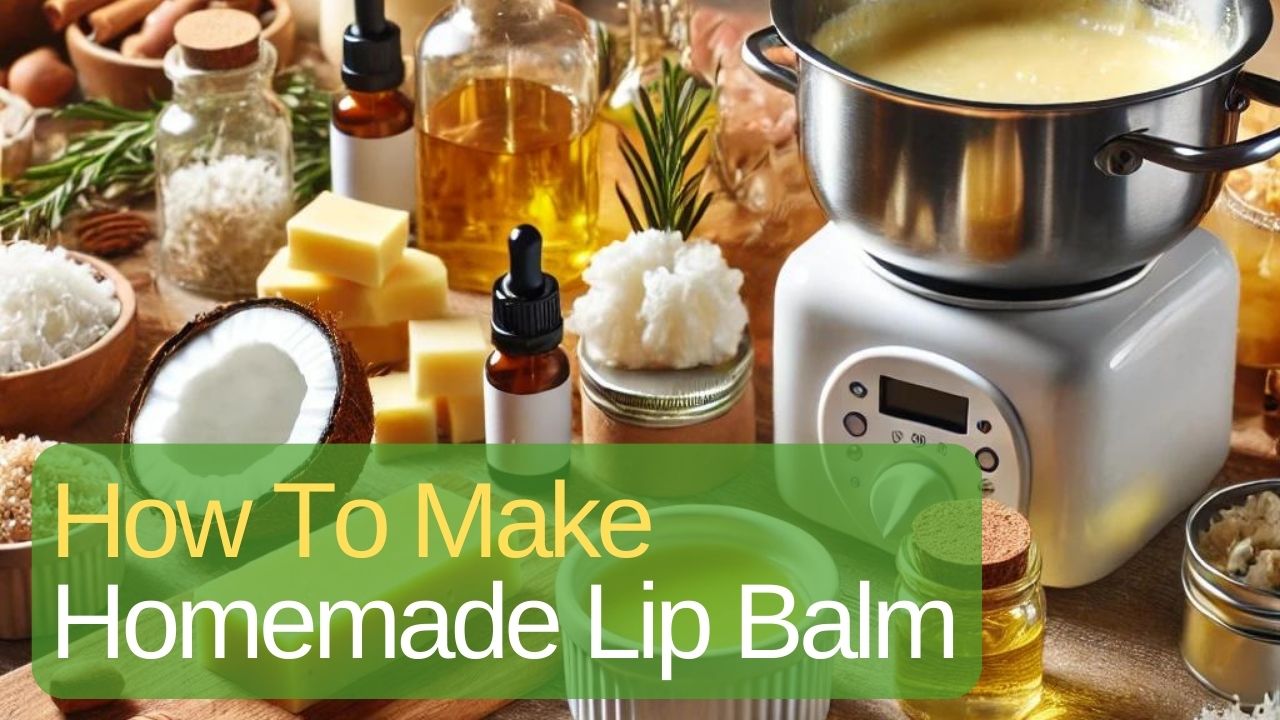
Making your own lip balm at home is a fun and rewarding experience. Not only can you control the ingredients and customize the flavors and scents, but homemade lip balm can also be more nourishing and free from harsh chemicals often found in commercial products. In this guide, we’ll cover everything you need to know about how to make homemade lip balm, including a list of ingredients, step-by-step instructions, customization tips, and information on the benefits and storage of your DIY creation.
Benefits of Homemade Lip Balm
Creating your own lip balm offers several advantages:
- Natural Ingredients: You can choose high-quality, natural ingredients that are safe and gentle on your skin.
- Customization: Tailor your lip balm to your preferences with different scents, flavors, and colors.
- Cost-Effective: Homemade lip balm can be more economical than buying commercial products.
- Eco-Friendly: Reduce waste by using reusable containers and avoiding unnecessary packaging.
Ingredients Needed for Homemade Lip Balm
To make your own lip balm, you will need the following ingredients:
- Beeswax: Provides structure and firmness to the lip balm.
- Coconut Oil: Adds moisture and a smooth texture.
- Shea Butter: Nourishes and hydrates the lips.
- Essential Oils: For scent and additional benefits (e.g., peppermint, lavender, or vanilla).
- Vitamin E Oil: Acts as a natural preservative and provides additional skin benefits.
- Optional Add-ins: Natural colorants like beetroot powder or cocoa powder for tint, and SPF ingredients for sun protection.
Step-by-Step Instructions on How to Make Homemade Lip Balm
- Prepare Your Work Area:
- Clean your workspace and gather all necessary ingredients and tools (double boiler, stirring utensil, and containers for the lip balm).
- Melt the Beeswax, Coconut Oil, and Shea Butter:
- In a double boiler, combine 1 tablespoon of beeswax, 1 tablespoon of coconut oil, and 1 tablespoon of shea butter. Heat gently until fully melted, stirring occasionally.
- Add Essential Oils and Vitamin E:
- Remove the mixture from heat. Add 5-10 drops of your chosen essential oil and a few drops of vitamin E oil. Stir well to combine.
- Customize Your Homemade Lip Balm (Optional):
- If you want to add color or SPF, mix in your natural colorant or SPF ingredient now. Stir until evenly distributed.
- Pour into Containers:
- Carefully pour the hot mixture into lip balm tubes, tins, or small jars. Allow them to cool and solidify completely.
- Label and Store Your Homemade Lip Balm:
- Label your containers with the scent and date. Store in a cool, dry place away from direct sunlight.
Tips for Customizing Your Homemade Lip Balm
Customizing your homemade lip balm is easy and fun. Here are some tips:
- Scents: Experiment with different essential oils like peppermint, lavender, or vanilla.
- Colors: Add natural colorants such as beetroot powder for a pink hue or cocoa powder for a brown tint.
- Textures: Adjust the ratio of beeswax to oils for a firmer or softer lip balm.
- Benefits: Incorporate additional ingredients like honey for extra moisture or SPF for sun protection.
Storing and Shelf Life of Homemade Lip Balm
Homemade lip balm typically lasts for about 6-12 months if stored properly. Keep it in a cool, dry place, and make sure to avoid direct sunlight and heat sources, as these can cause the ingredients to degrade. Using a clean applicator or finger when applying the balm will also help prolong its shelf life.
Advantages of Using Natural Ingredients Over Commercial Products
There are several reasons to choose natural ingredients over commercial products:
- Health Benefits: Natural ingredients are often free from harmful chemicals and additives found in commercial lip balms.
- Environmentally Friendly: Homemade lip balm reduces waste by using reusable containers and eco-friendly ingredients.
- Ethical Considerations: Many natural ingredients are sustainably sourced and cruelty-free, supporting ethical practices.
Frequently Asked Questions About Homemade Lip Balm
How long does homemade lip balm last?
Homemade lip balm typically lasts for about 6-12 months if stored properly in a cool, dry place.
Can I use different essential oils in my lip balm?
Yes, you can customize your lip balm with various essential oils like peppermint, lavender, or vanilla to suit your preferences.
What are the best containers for storing homemade lip balm?
Small tins, jars, or lip balm tubes are ideal for storing homemade lip balm.
Is homemade lip balm safe for sensitive skin?
Generally, homemade lip balm is safe for sensitive skin, especially when made with natural, gentle ingredients. However, it’s always best to do a patch test first.
Can I add SPF to my homemade lip balm?
Yes, you can add SPF ingredients such as zinc oxide to provide sun protection.
By following these instructions and tips on how to make homemade lip balm, you can create a personalized, natural product that is both effective and enjoyable to use.