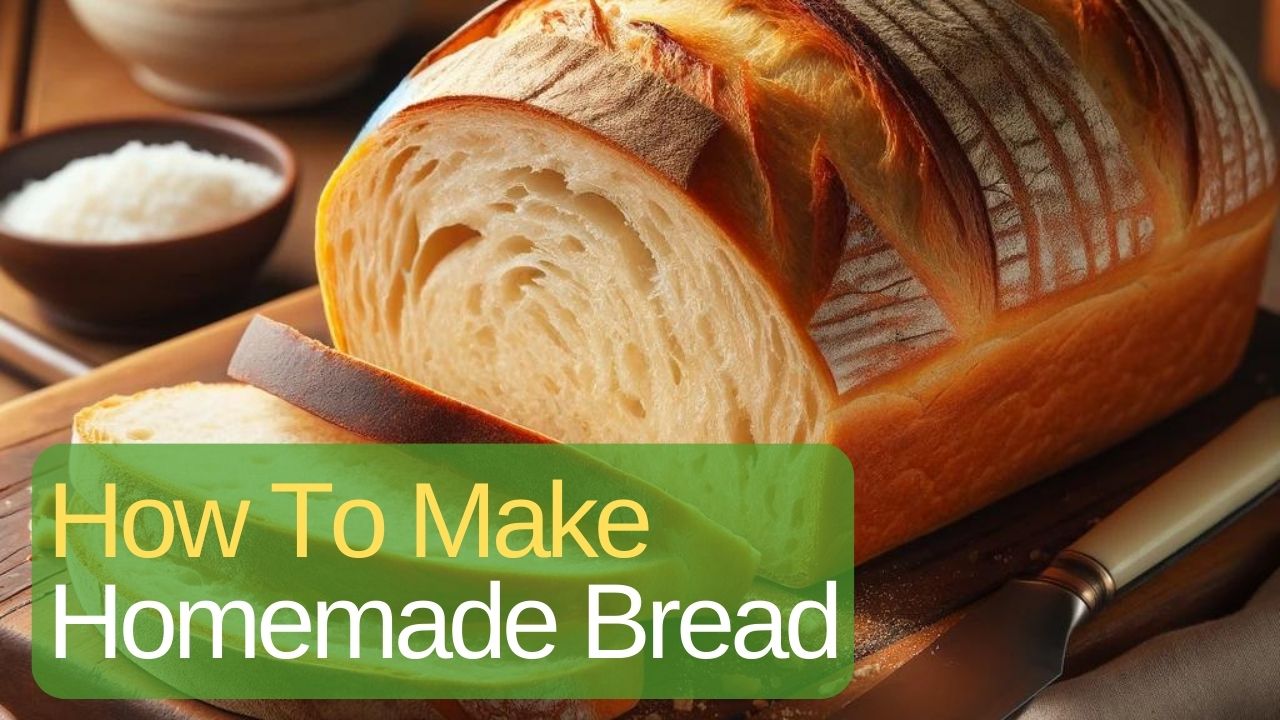
There’s nothing quite like the smell of freshly baked bread wafting through your home. If you’re wondering how to make homemade bread, you’re in the right place. Making homemade bread might seem daunting, but with the right guidance, it can be a rewarding and enjoyable experience. In this post, we’ll walk you through the process step-by-step, provide some helpful tips, and answer common questions to ensure your homemade bread turns out perfectly every time.
Basic Ingredients and Tools Needed for How to Make Homemade Bread
Before we dive into the instructions, let’s gather the essentials. Here’s what you’ll need:
Ingredients:
- Flour: Bread flour is ideal, but all-purpose flour works well too.
- Yeast: Active dry yeast or instant yeast.
- Water: Lukewarm water to activate the yeast.
- Salt: Essential for flavor.
- Sugar: Helps feed the yeast (optional, depending on the recipe).
- Fat: Such as butter, oil, or shortening (optional, for softer bread).
Tools:
- Mixing bowl: Large enough to mix and knead the dough.
- Measuring cups and spoons: For accurate ingredient measurements.
- Wooden spoon or dough whisk: For mixing.
- Kitchen scale: Useful for precise measurements.
- Baking sheet or loaf pan: Depending on the type of bread you’re making.
- Clean kitchen towel: To cover the dough while it rises.
- Cooling rack: For cooling the bread after baking.
Step-by-Step Instructions for How to Make Homemade Bread from Scratch
- Activate the Yeast:
- In a large mixing bowl, dissolve 2 ¼ teaspoons of yeast in 1 cup of lukewarm water (about 100°F/38°C). Let it sit for about 5 minutes until it becomes frothy.
- Mix the Dough:
- Add 3 cups of flour, 1 teaspoon of salt, and 1 tablespoon of sugar (if using) to the yeast mixture. Mix until a shaggy dough forms.
- Knead the Dough:
- Turn the dough onto a floured surface and knead for about 10 minutes until it becomes smooth and elastic. Add small amounts of flour if the dough is too sticky.
- First Rise (Proofing):
- Place the dough in a lightly oiled bowl, cover it with a clean kitchen towel, and let it rise in a warm, draft-free area for about 1 to 2 hours until it has doubled in size.
- Shape the Dough:
- Punch down the risen dough to release any air bubbles. Shape it into a loaf or your desired shape and place it on a baking sheet or in a loaf pan.
- Second Rise:
- Cover the dough again and let it rise for another 30 to 60 minutes until it has doubled in size.
- Preheat the Oven:
- Preheat your oven to 375°F (190°C) while the dough is undergoing its second rise.
- Bake the Bread:
- Bake the bread in the preheated oven for about 30 to 35 minutes until the crust is golden brown and the bread sounds hollow when tapped on the bottom.
- Cool the Bread:
- Remove the bread from the oven and let it cool on a cooling rack before slicing.
Tips for Kneading, Proofing, and Baking Bread
- Kneading: If the dough is too sticky, add a little flour at a time. Proper kneading develops gluten, giving the bread its structure and chewiness.
- Proofing: The ideal proofing environment is warm and humid. If your kitchen is cold, proof the dough in the oven with just the light on.
- Baking: For a crispier crust, place a pan of water on the bottom rack of the oven while baking to create steam.
Common Mistakes to Avoid in How to Make Homemade Bread
- Using water that’s too hot: It can kill the yeast. Aim for lukewarm water.
- Adding too much flour: It can make the dough dense and tough. The dough should be slightly sticky.
- Not letting the dough rise enough: Underproofing can result in dense bread. Ensure it doubles in size during both rises.
Variations and Add-Ins to Customize Your Bread
- Whole Wheat Bread: Replace half or all of the white flour with whole wheat flour.
- Herb Bread: Add chopped fresh herbs like rosemary or thyme to the dough.
- Cheese Bread: Mix in shredded cheese for a savory twist.
- Sweet Bread: Add cinnamon, raisins, or nuts for a sweeter loaf.
Benefits of Making Bread at Home Compared to Store-Bought Options
- Freshness: Homemade bread is free from preservatives and always fresh.
- Customization: You can experiment with different flours, add-ins, and flavors.
- Cost-Effective: Making bread at home is often cheaper than buying high-quality artisanal bread.
- Satisfaction: There’s a unique sense of accomplishment in baking your own bread.
Frequently Asked Questions About How to Make Homemade Bread
What type of flour is best for homemade bread?
Bread flour is best for its high protein content, which gives bread a better structure and chewiness. All-purpose flour works well too, especially for softer breads.
How long does homemade bread last?
Homemade bread typically lasts 2 to 3 days at room temperature. For longer storage, you can freeze it for up to 3 months.
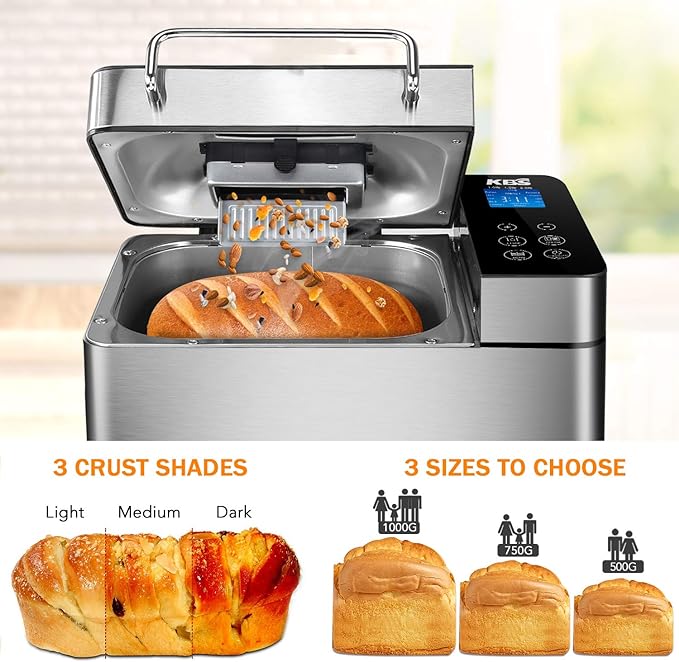
Can I use a bread machine?
Yes, a bread machine can simplify the process. Follow your machine’s instructions, but the basic steps of mixing, kneading, and baking remain the same.
How can I tell if my bread is fully baked?
The bread should be golden brown and sound hollow when tapped on the bottom. You can also check the internal temperature with a kitchen thermometer; it should be around 190°F (88°C).
What are some common problems and how can I fix them?
- Dense Bread: Ensure proper kneading and proofing.
- Flat Bread: Avoid overproofing and handle the dough gently after the first rise.
- Dry Bread: Don’t add too much flour and consider adding a bit of fat like butter or oil to the dough.
Mastering How to Make Homemade Bread
Making homemade bread is a delightful and fulfilling experience. With these clear instructions, helpful tips, and answers to common questions, you’re well on your way to mastering how to make homemade bread right in your kitchen. Happy baking!